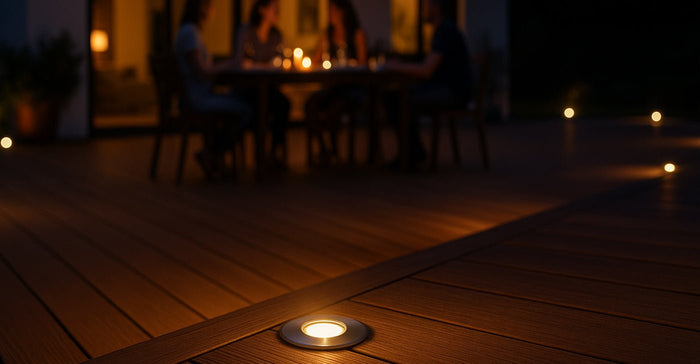
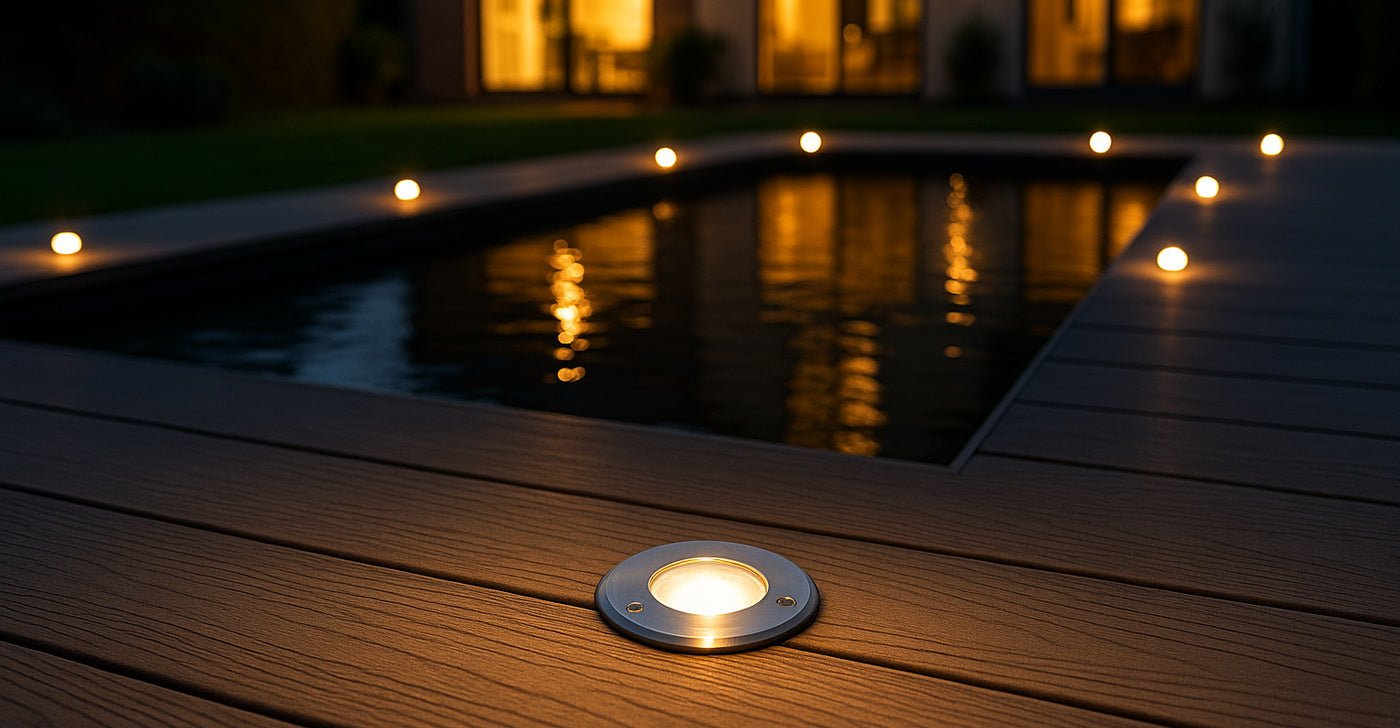
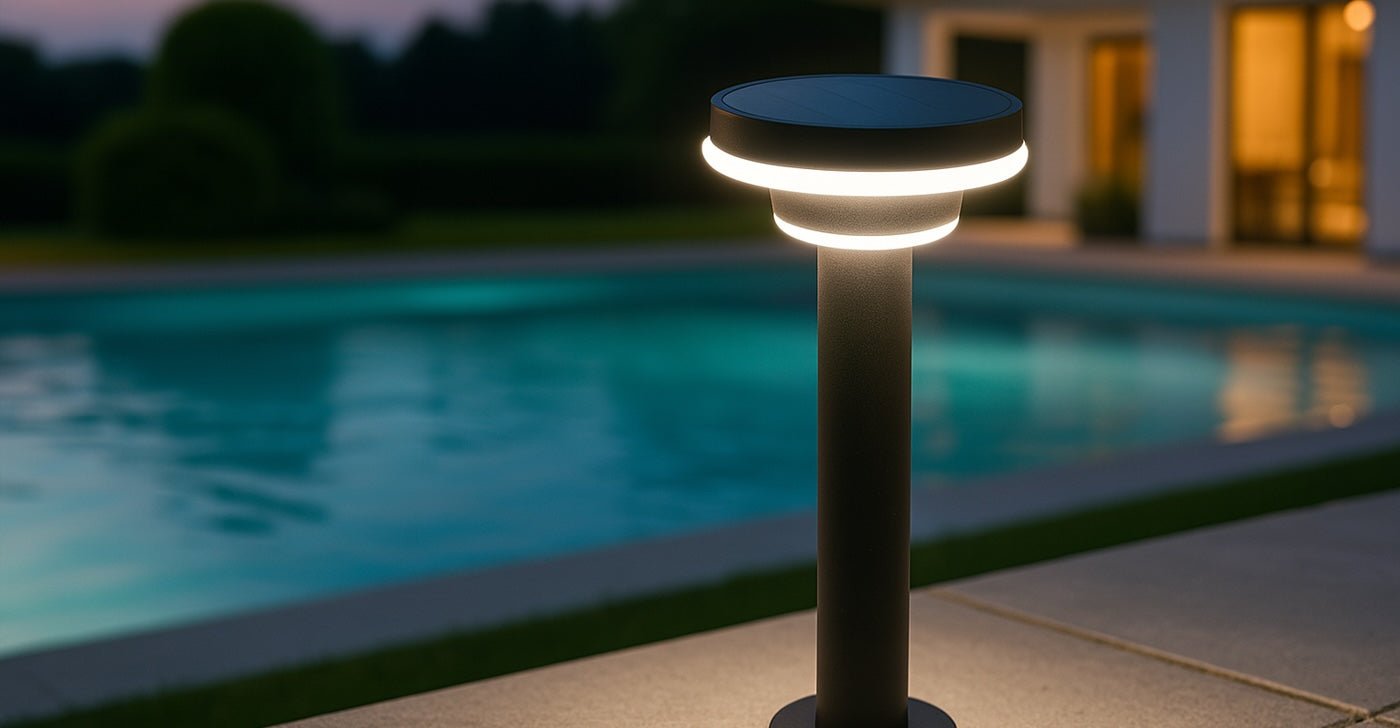
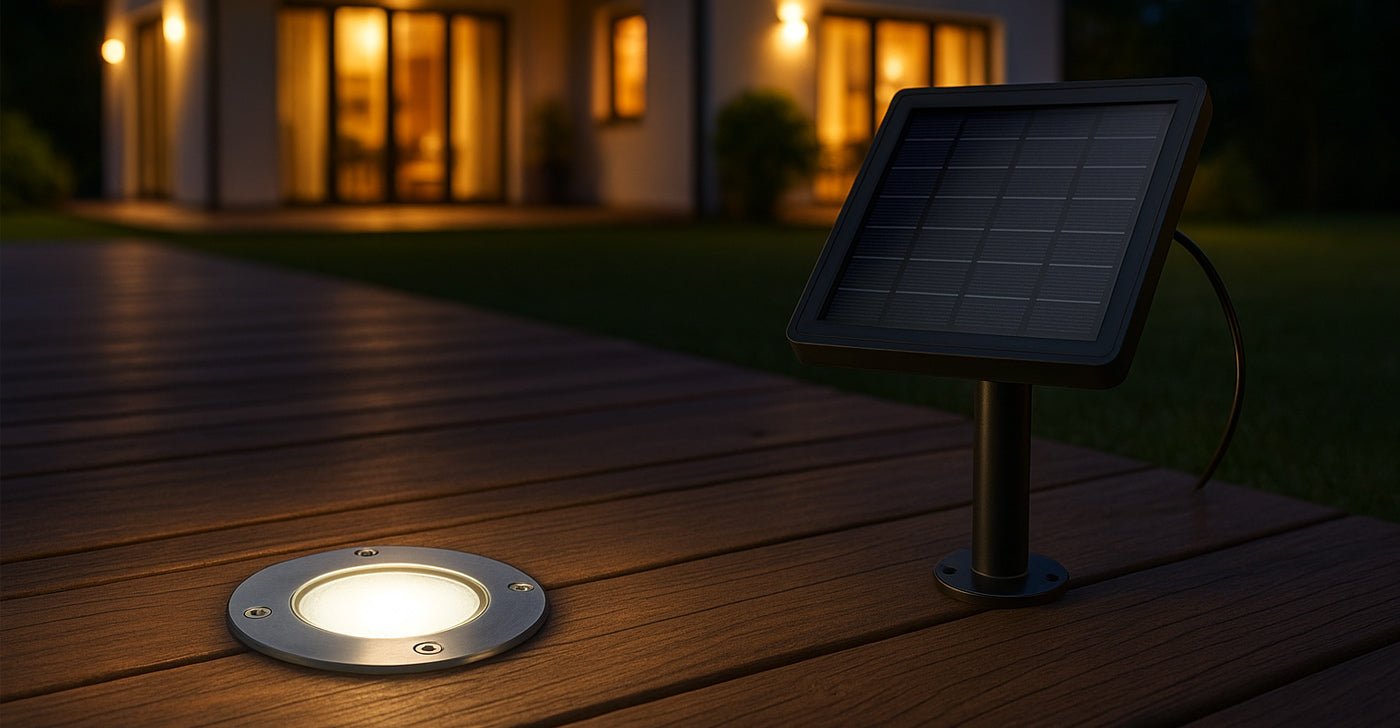
You just picked a external light terminal for your garden, but you hesitate: does it need a sheath? Can you just plant a stake? Does a 12V terminal fit like a outdoor solar terminal What if the floor is furnished?
No panic. Whether you have opted for a 230V, 12V or solar terminal, there are simple and durable solutions. Here is the complete guide to avoid errors and enlighten your exterior as a pro.
Choose the right location: use, orientation and distance
Before you even take out the drill, ask yourself a simple question: what is the function of your terminal? Is it to mark a walkway, create a sieved atmosphere on a terrace, or illuminate an entrance for safety reasons? Each use requires a specific type of location.
A roadmarking will require a regular repetition, both at four meters depending on the luminous power. For an atmosphere on a terrace, one or two terminals are sufficient if they are well positioned. And as part of a landscape development (massive, fountain, sculpture), the orientation of the luminous flux will be essential.
What about solar models? It is imperative to avoid shaded areas: the yield depends entirely on exposure to the sun. Needless to install a solar terminal under a century-old cypress.
"What makes the difference is not the power of the LED, it's the coherence of a set. A poorly placed terminal, even a performance, will never give a good result."
— Christophe Coelho, founder of Lumihome
What power supply? 230V, 12V or solar: three cases of installation
Case 1: Independent outdoor solar terminal
Incarnate simplicity. A solar terminal is installed in minutes, without wire or electric tool. Just sink into the ground with a supplied pole (in the case of light models), or screw it on an existing slab. It is a perfect solution for spaces without power supply, gardens already fitted, or for those looking for a reversible installation.
However, watch out for its exposure: good direct sunlight is essential. Integrated panels do not tolerate half-measures: a dark day and your terminal only lights up a few minutes.
Case 2: 12V Borne – ideal for swimming pool approaches
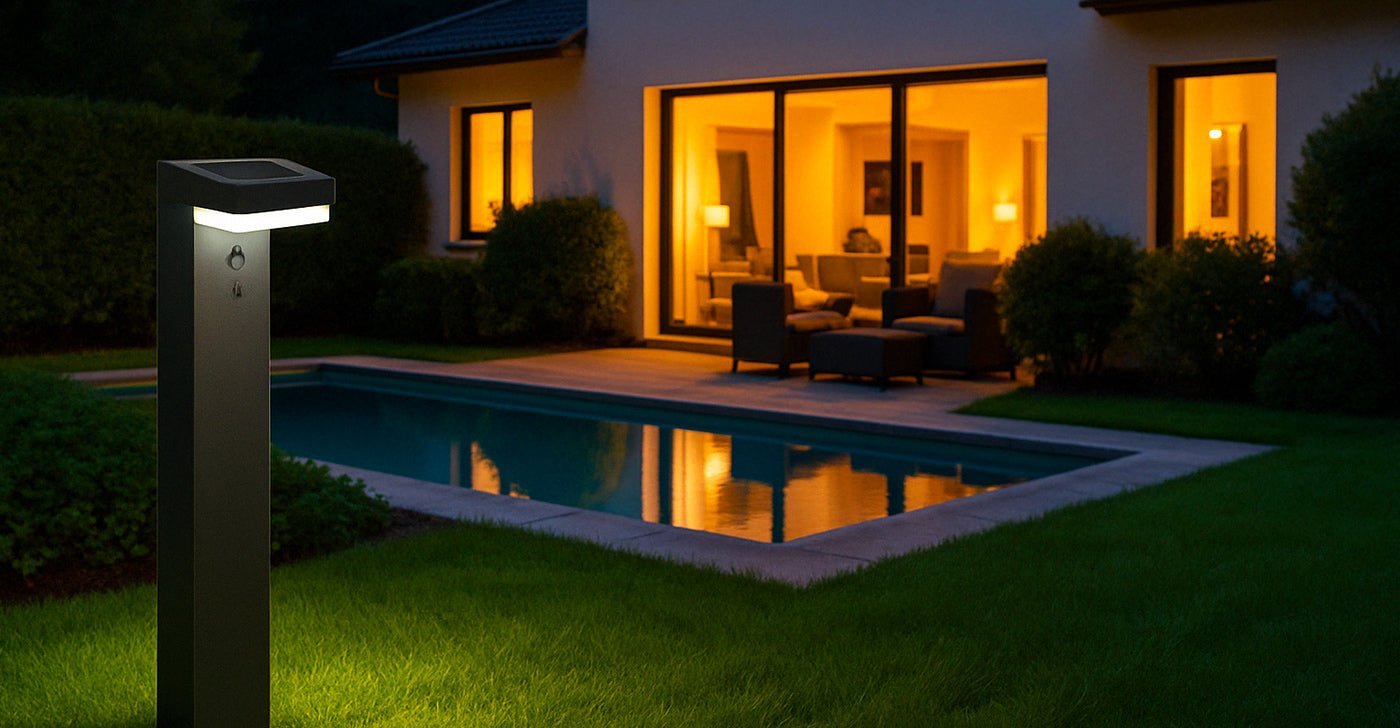
Less known than solar, the 12V terminal However, it is an excellent option for sensitive areas: swimming pool approaches, wooded terraces, or very humid areas. It works with a power transformer, and uses cables at very low voltage.
The installation is simple: the cable passes into a red TPC sheath buried at 20 cm depth, then connects to the terminal via waterproof connectors. The standard does not require the same precautions as a 230V line, which makes it more accessible to self-installation.
"The 12V is a classic option to combine safety and performance around a swimming pool. In 2025, solar is also to be considered at Lumihome, as the performance of our last terminals is amazing."
Case 3: Wired 230V terminal
It is the most powerful and durable solution, but also the most framed. Any 230V installation must comply with the NF C 15-100 standard. First step: cut power to the general table. Then, provide a dedicated circuit protected by a differential circuit breaker 30 mA.
The cable must pass through a red TPC sheath, buried at a minimum of 50 cm. Connections are made in a bypass box or using waterproof IP68 connectors. Finally, check that your terminal is in Class II (double insulation) if you do not connect the carcass to the earth.
"Lumihome terminals are designed to fit easily into an existing circuit. Fasteners, stainless steel screws, and products are compatible with French standards are supplied."
The tools needed to properly install your terminal
To be prepared before you start:
-
Stool or tarrière (for holes or trenches)
-
Bubble level
-
Metric tape
-
Screwdriver or screwdriver
-
Red TPC sheath
-
Watertight connectors (IP68)
-
Concrete or picket (depending on model)
-
Flat or socket wrench
-
Transformer (if 12V)
-
Multimeter (if terminal 230V)
Fixing the terminal to the ground: concrete base or stake?
The most stable option remains the concrete base. A slab of 25 x 25 x 25 cm is poured, in which the fixing ankles are sealed. This guarantees a perfect hold, even in case of wind or loose floor.
But in some cases, the picket is quite sufficient. This is particularly true for the solar terminals light, which do not need such a massive anchor. Some models are designed to sink into the ground in seconds.
The important thing is to check that the soil is compact and that the terminal will not be subject to bumps (tumbler, frequent passage, children...).
"We have long underestimated the importance of fixing. A bench terminal is a terminal that ends on the ground at the first blow of wind. Hence our desire to systematically include platinum or picket according to the models."
Commissioning and adjustments
The moment of truth! After fixing and connecting, check the operation:
-
If you install a solar terminal, let it load a full day before evaluating its effectiveness.
-
For 12V and 230V models, turn the current back and test each light point.
Wait until night to adjust the orientation or spacing. A slightly turned terminal can completely change the atmosphere or the legibility of a path.
What if my terminal doesn't turn on?
No panic, several reasons can explain this small luminous silence:
-
For solar terminals Check that the panel is not covered with dust or poorly oriented. Some terminals have an ON/OFF switch under the hood — remember! Finally, a day without sun is sometimes not enough to fully recharge a worn battery.
-
For 12V terminals Check the transformer connections and polarity. Also check that the transfo is well powered upstream. A multimeter will be useful.
-
For 230V terminals - Test the current at the outlet of the duct with a tester. A poorly tight connection in the bypass box or a circuit breaker that jumps due to a short circuit may be involved. If you have any doubt, call an electrician.
Errors to avoid
-
Install before the end of the groundwork (you will have to do everything again)
-
Forget the sheaths when you pour a slab or put on a lawn
-
Consolidating power supplies (a 12V terminal is not 230V compatible)
-
Use a picket in a loose floor (sand, uncompacted gravel)
The rest of it, it's playing at nightfall.
Once installed, your outdoor light terminal becomes much more than a luminaire: it is a landmark, a safety, an element of decor. At Lumihome, we believe that light should not be a technical subject... but a pleasure.
And with a range of robust, aesthetic and simple products to put on — whether it be Solar pole or outside chub — you don't have to excuse yourself to leave your garden in the dark.
 DELIVERY €11, FREE FROM €150 OF PURCHASES IN FRANCE