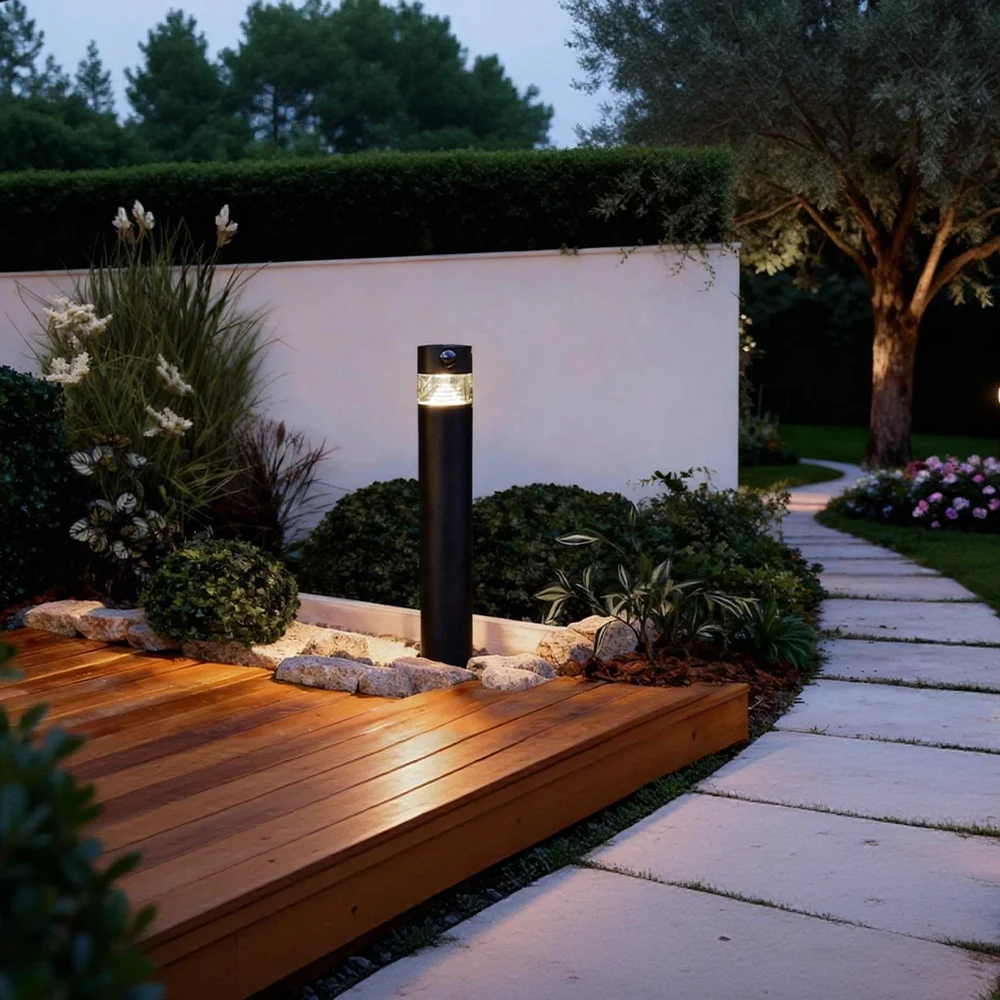
Your terrace is ready, your garden furniture is installed... but when the night falls, everything disappears in the dark? It's time to fix it. Installing recessable spots on a composite terrace is the assurance of elegant lightingfunctional and perfectly integrated.
But be careful: who says exterior lighting, says also electrical standards, precautions of installation and choice of the right products. No panic: here is the way to use it, step by step, to do things according to the rules of art (and electricity).
Why opt for embedded spots on a composite terrace?
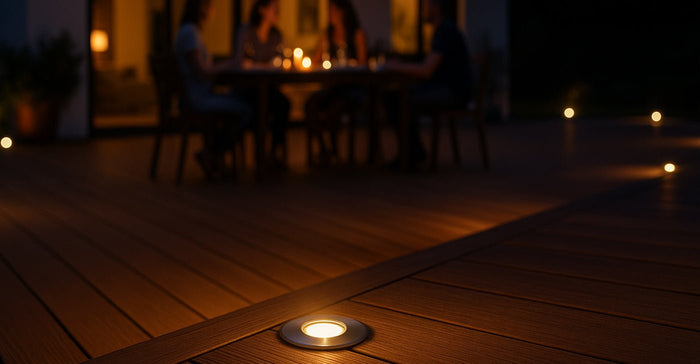
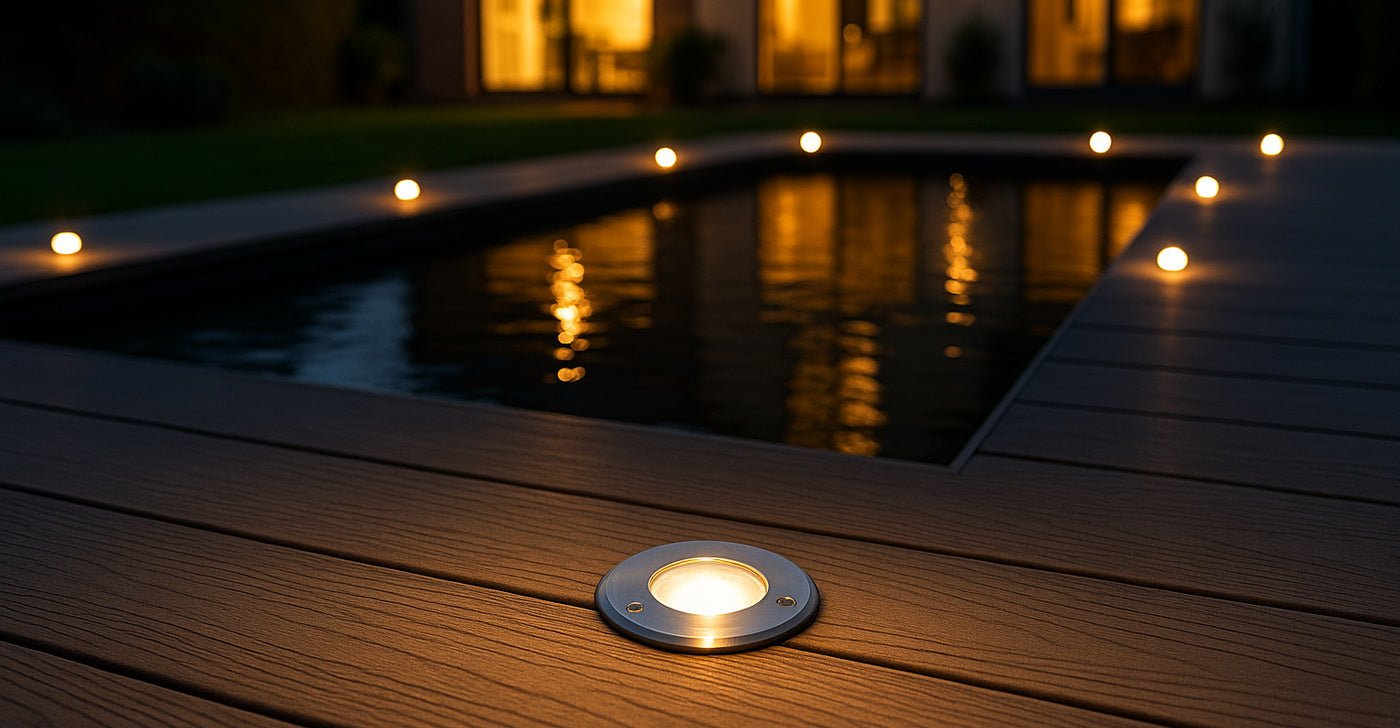
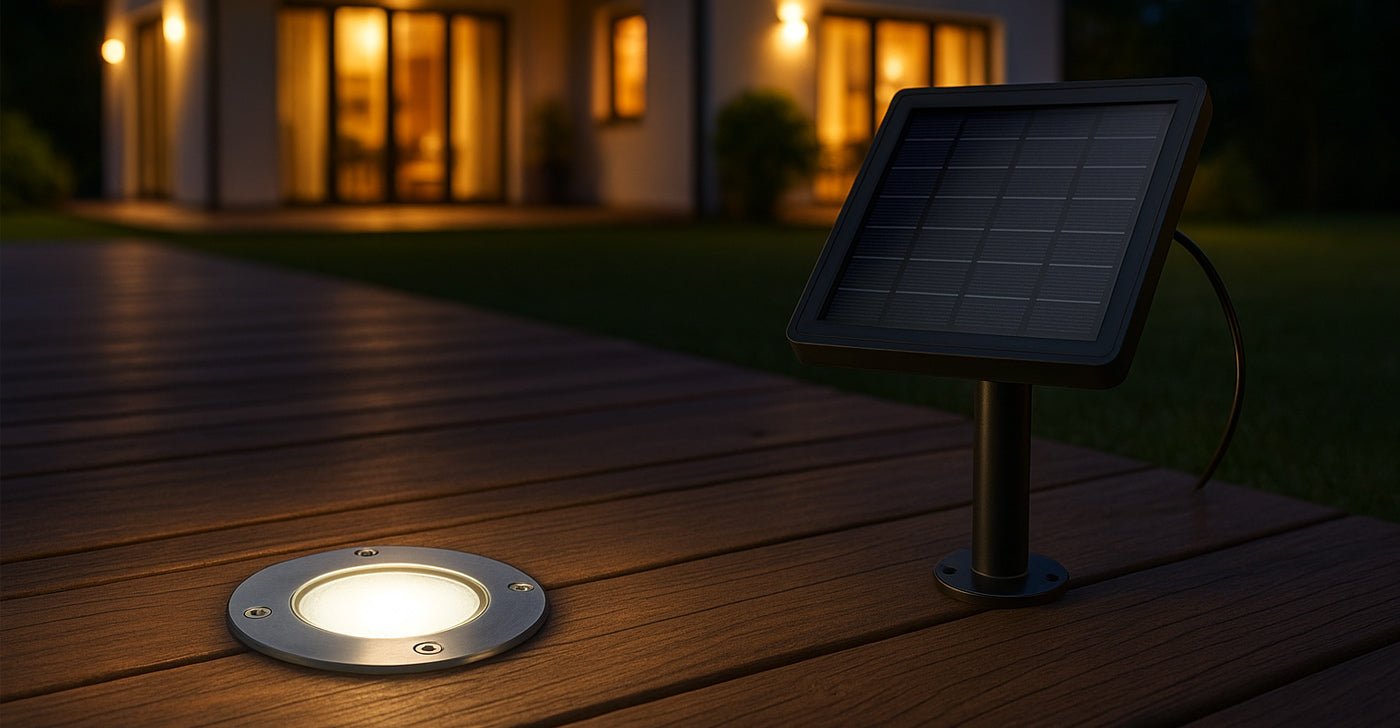
The outdoor led spots They are both sober and sophisticated in their rendering. They integrate directly into the blades of your composite terrace, visible wireless or visual overload. Result: low, discreet, but fearlessly effective lighting.
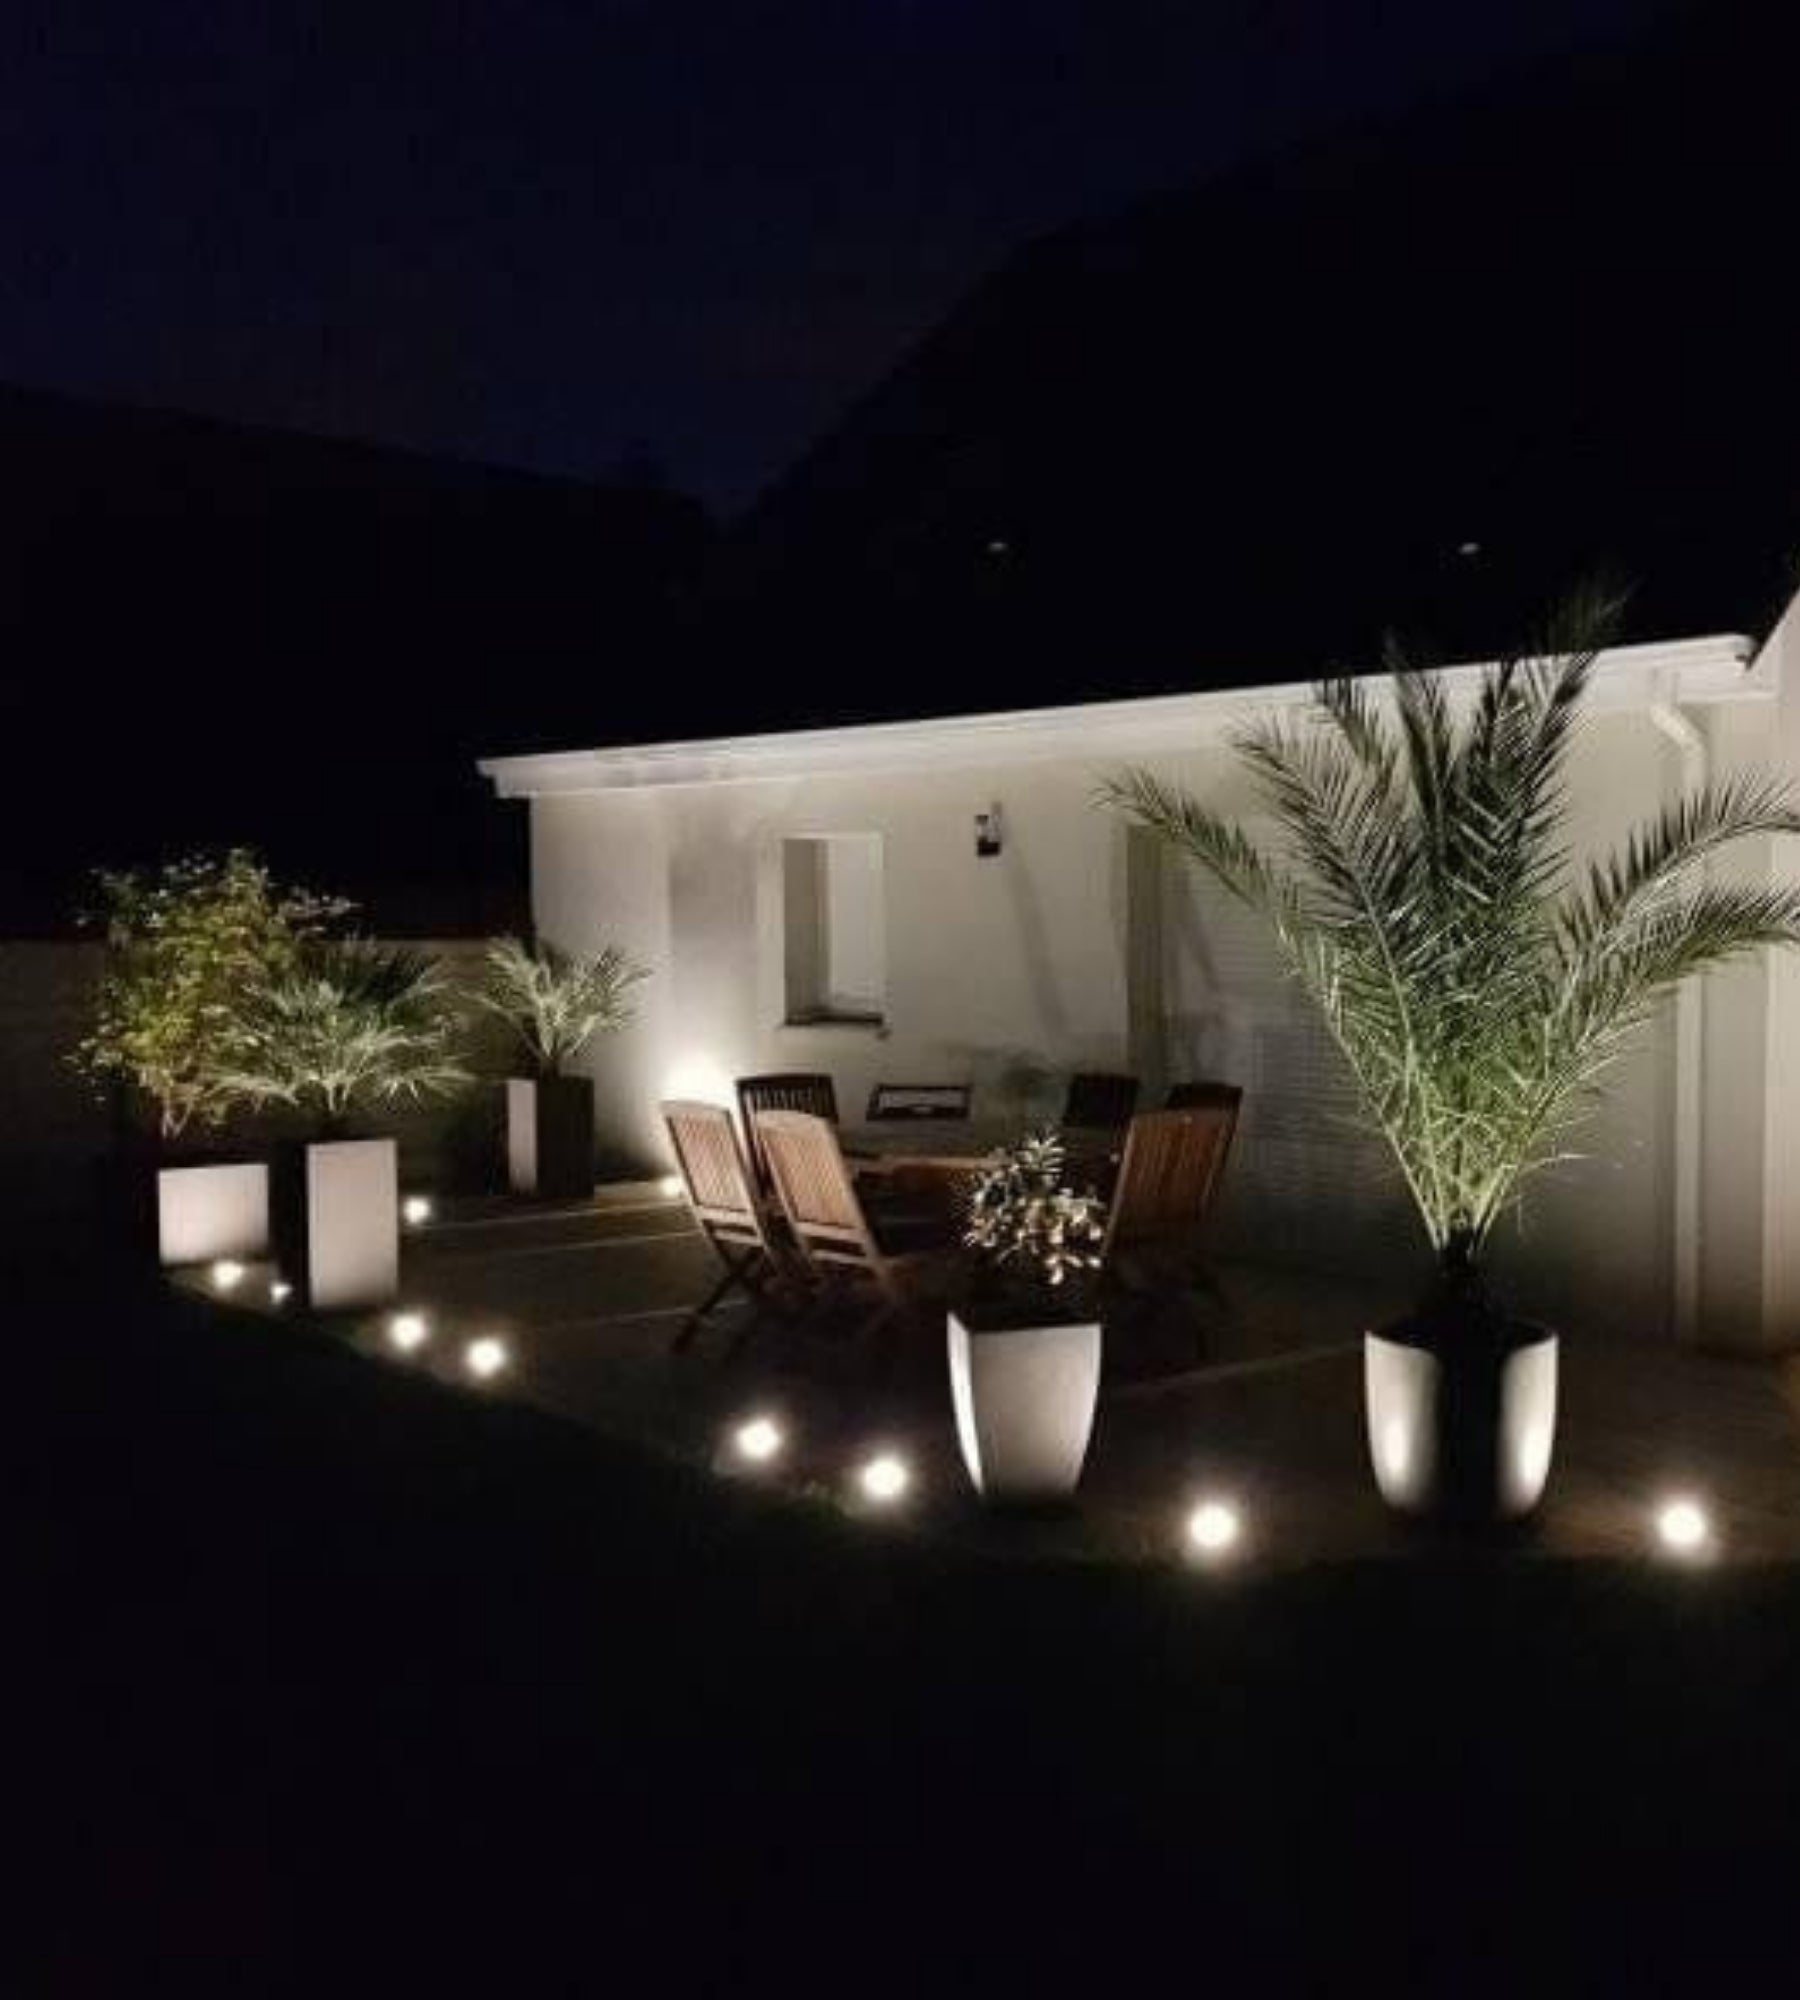
In addition to a very neat aesthetic effect, they improve the security around the terrace, especially near the steps, the passage areas or around a swimming pool.
And on the maintenance side, if you choose a nice brand, it's a big one! For example, at Lumihome, our models are designed to withstand moisture, temperature variations and even people's passages.
Choose the right type of spot: 12V or 230V?
Before you even pierce the first terrace blade, you have to stop on a fundamental question: which voltage to choose? 12V or 230V? This decision will not only determine the type of equipment to be used, but also the precautions to be taken to ensure your safety and the durability of the installation.
12V: the safe and easy-to-live solution
Very low voltage (12 volts) lighting systems are preferred for outdoor installations near a pond.
Why? Because they are much safer in case of accidental contact with moisture, water projections or a failed connection. The voltage is low enough to present no danger to the user, making them perfectly suited to sensitive environments such as:
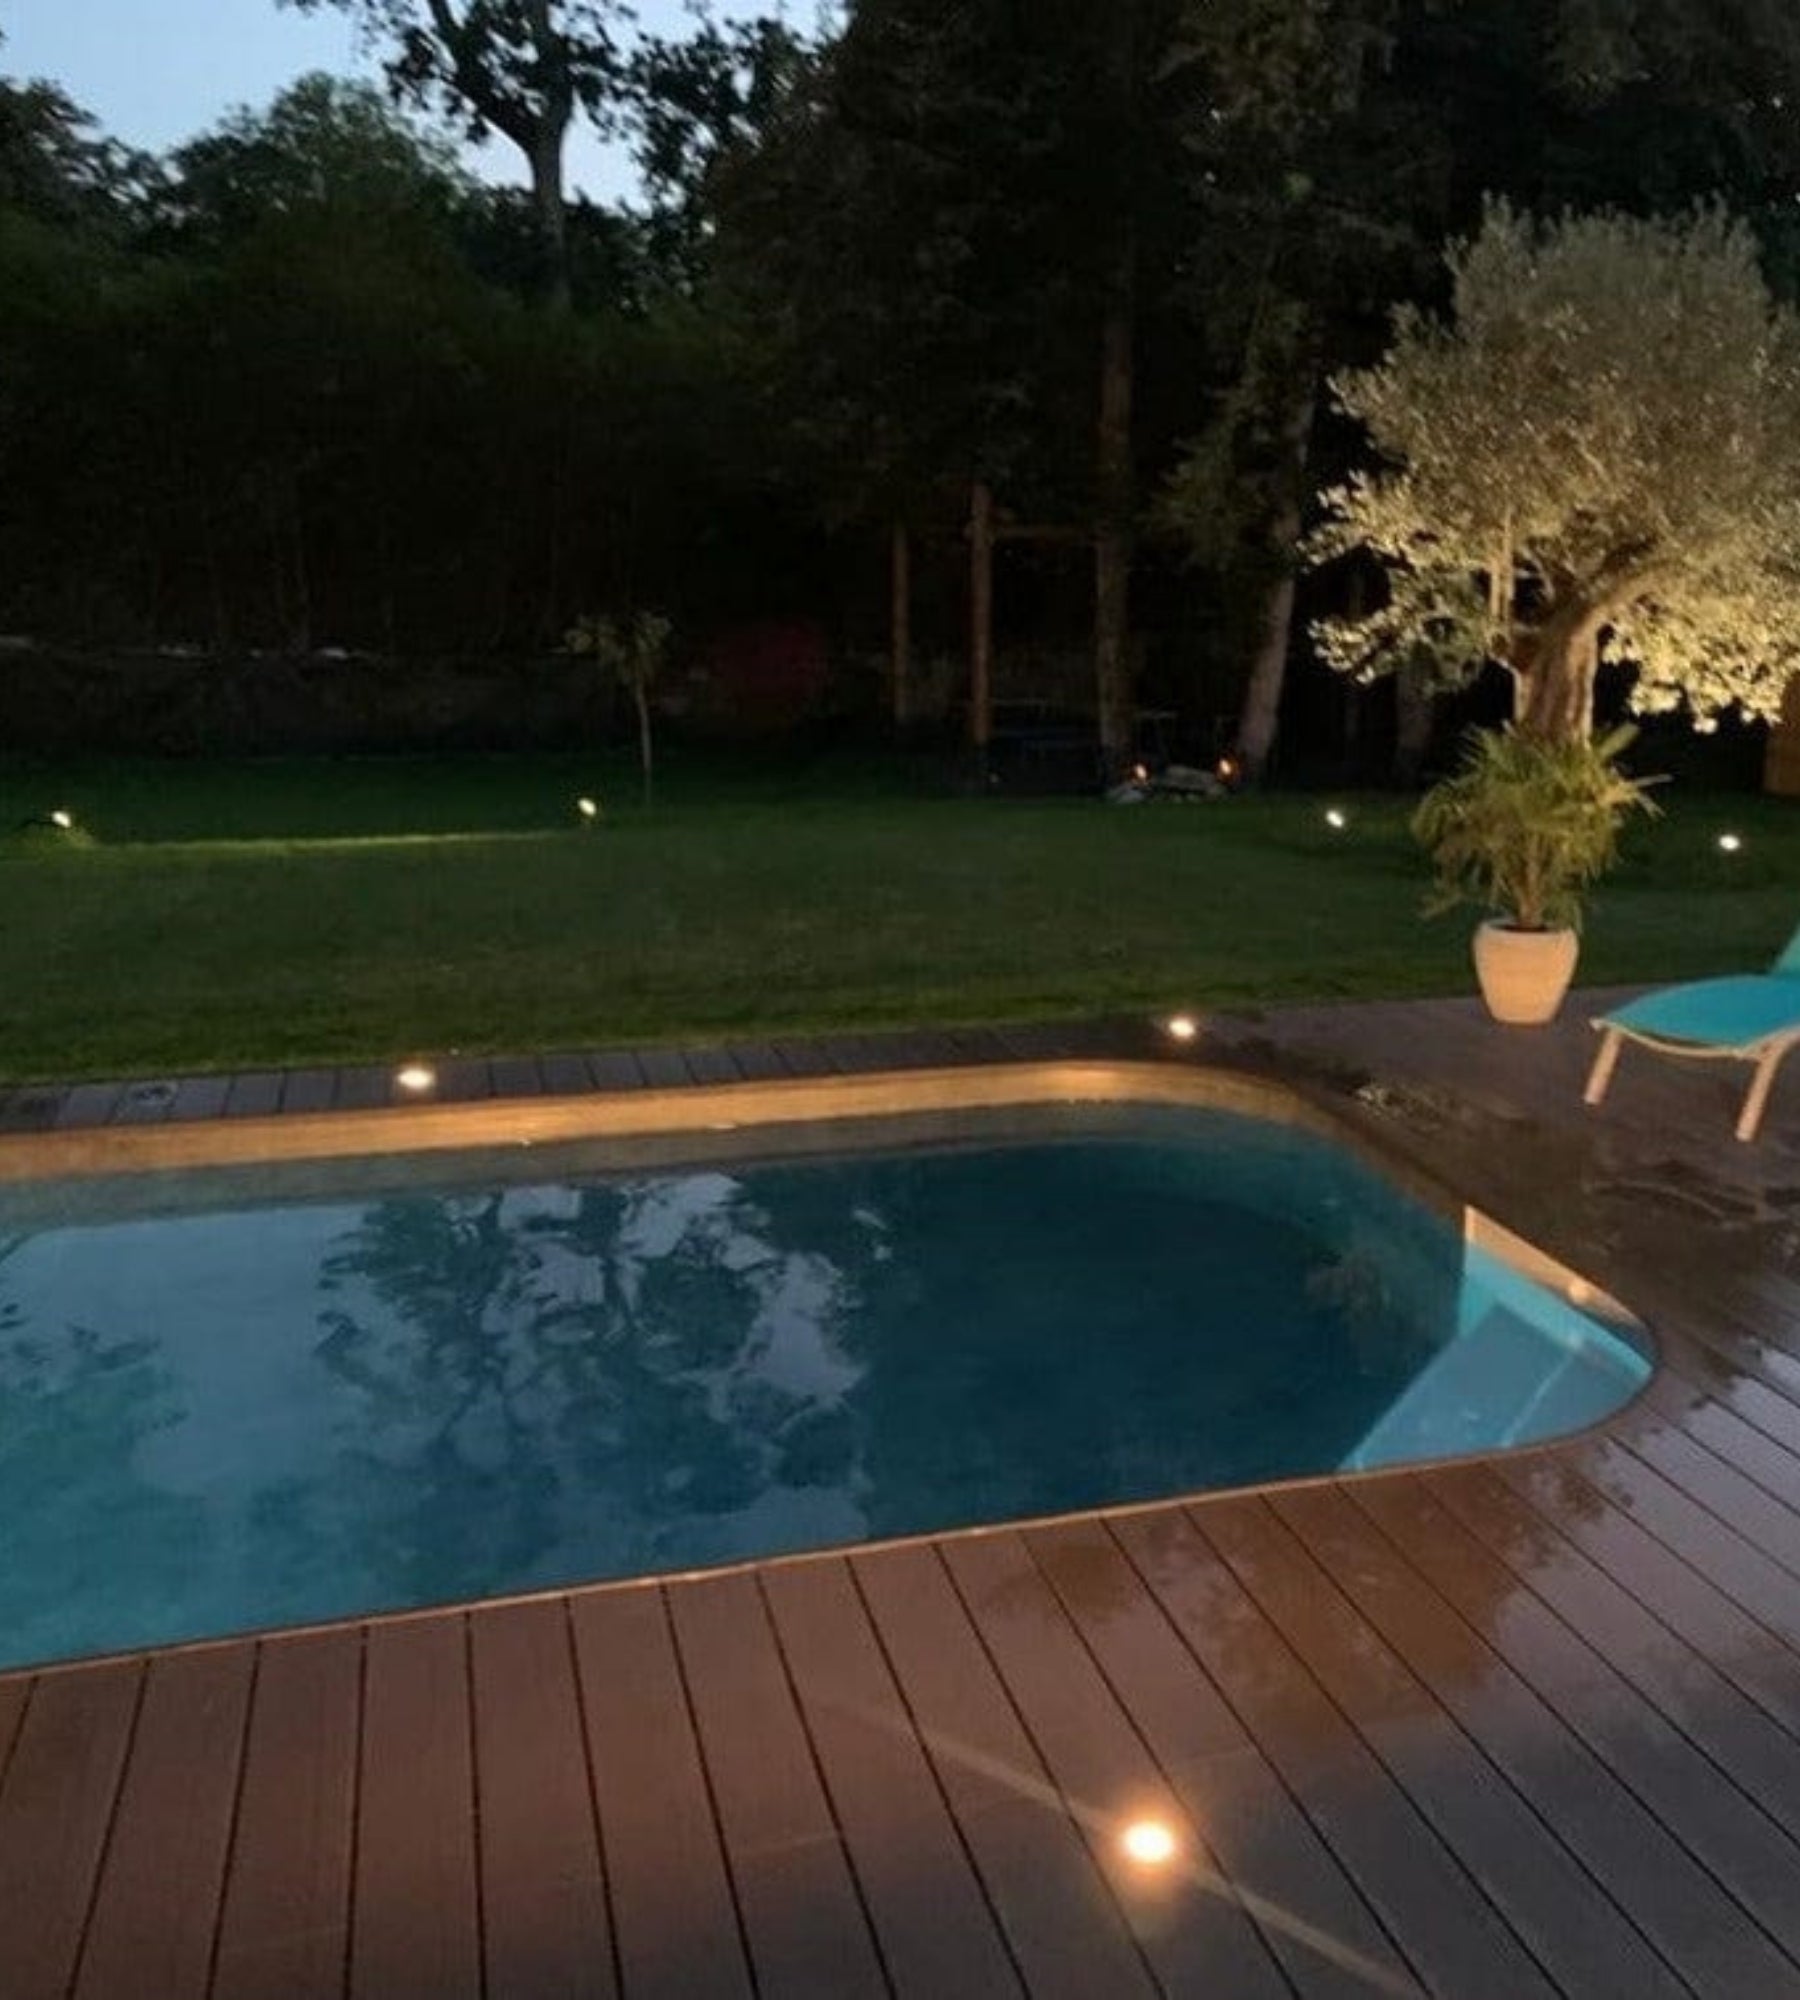
The other advantage of an outdoor spot 12V, it is its simplicity of maintenance: in case of failure or change of spot, you do not need a licensed electrician.
But there's a setback:
-
A transformer is needed to convert the 230V current of the network to 12V
-
The number of spots is limited by the power of the transformer
-
Cable lengths must be controlled: beyond 10 to 15 meters, there may be a noticeable drop in voltage
Tip: At Lumihome, our transformers are designed to integrate discreetly into the layout, and several models offer waterproof versions, to be installed directly near the terrace.
230V: power and simplicity... but to be handled with caution
The 230V (classic power supply) is tempting: you don't need transformers, you directly power your spots from a dedicated power line. It is usually the choice of professionals to:
-
The large terraces where we want to feed 10, 15, or even 20 spots
-
Sustainable facilities, cabled once and for all
-
Dry, well ventilated environments with easy access to the electrical panel
But This choice involves several regulatory obligationsBecause we're talking about potentially deadly current.
In accordance with the NF C 15-100 standard, section 7.702, any 230V installation outdoors shall respect the following points:
-
Use of cables suitable for outdoor use, protected in ducts
-
Implementation of a differential circuit breaker 30 mA dedicated to the outdoor circuit
-
All connections shall be made in leakproof bypass boxes
-
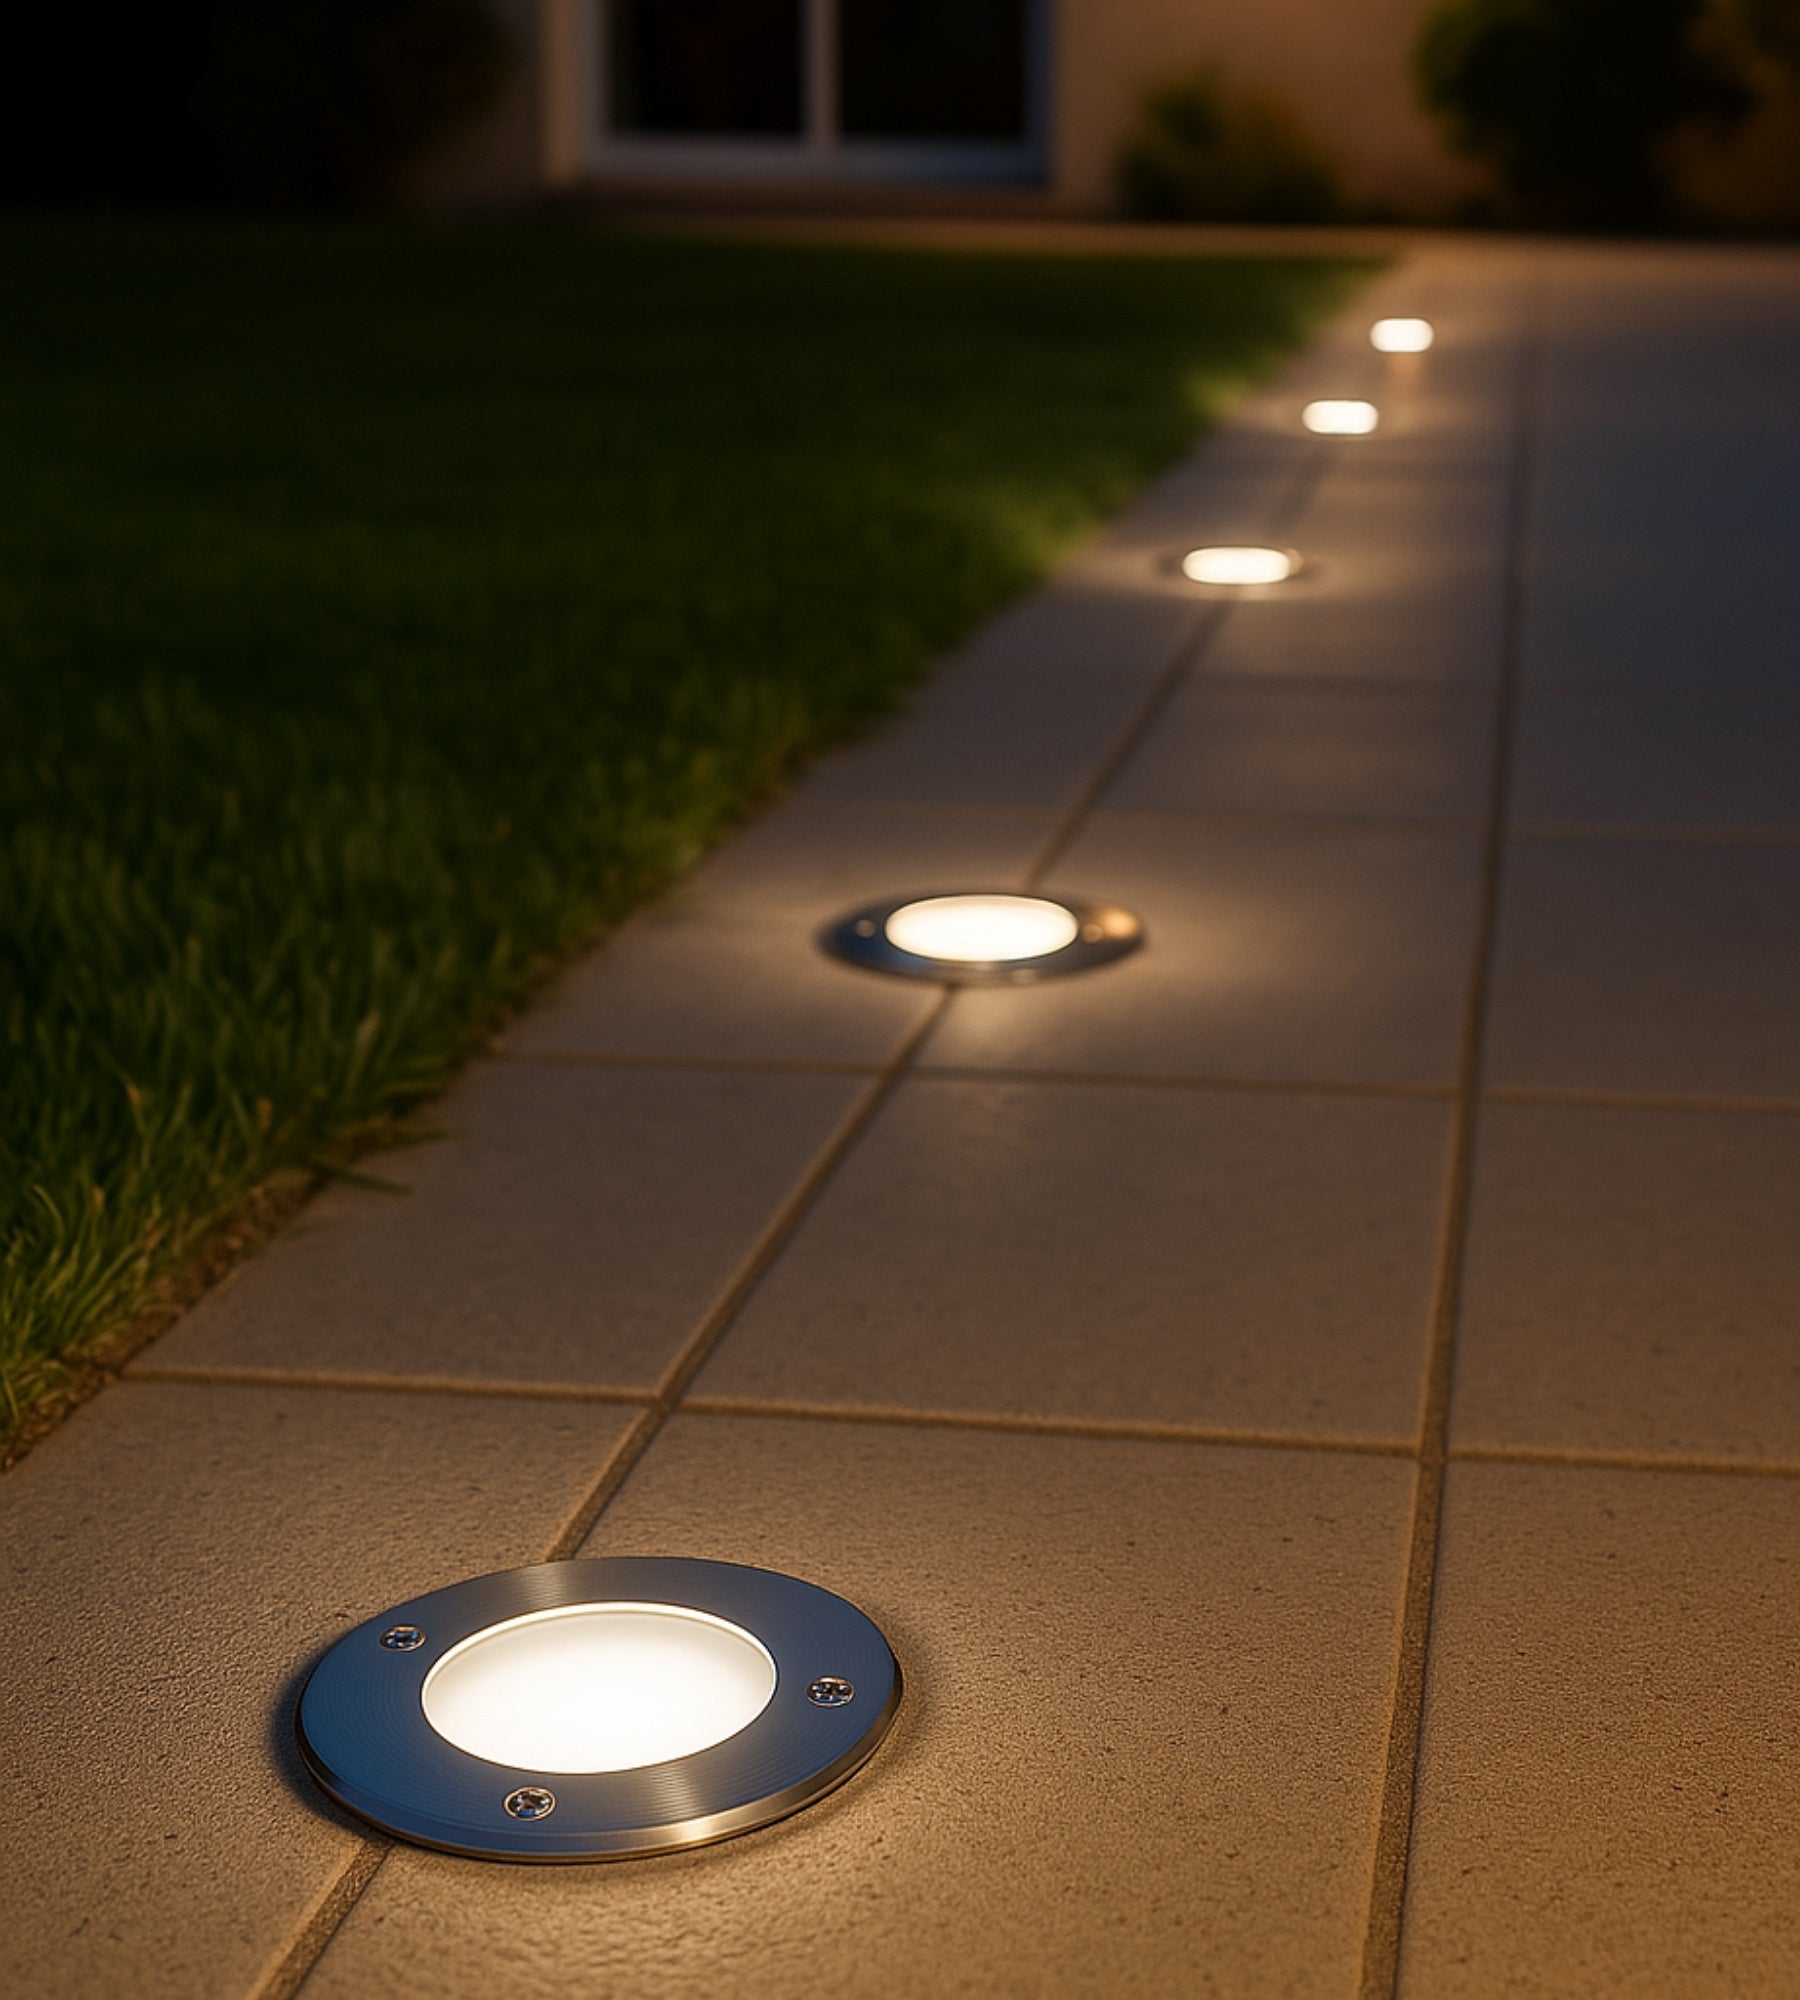
The spots shall be IP65 minimum, and resistant to crushing if installed in a passing area
And above all, no connection should be made to the open air, even temporarily.
How do I choose between the two?
Here are some typical scenarios:
| Situation |
Recommended voltage |
Why? |
| Small terrace < 10m2, no water point |
12V |
Simpler to pose, enough for a few spots |
| Terrace with pool or pool nearby |
12V mandatory |
For electrical safety reasons |
| Large terrace, powerful and extended lighting |
230V |
Less losses, no transformer required |
| Very wet or poorly ventilated environment |
12V recommended |
Less risk in condensation |
Steps for installing recessable spots
1. Prepare for installation
Start by imagining the atmosphere you want to create: highlighting borders, lighting atmosphere, securing the areas of passage...
Then gather the material:
-
Recessable spots (IP65 minimum, crash resistant if placed in a passing area)
-
Bell saw adapted to the diameter of the spot
-
Electrical cables suitable for outdoor use
-
12V transformer (if necessary)
-
Watertight diversion boxes
-
Gains to protect cables
-
Quick connection terminals (Wago type, watertight)
2. Lay the sheaths and prepare the wiring
Before you fix your spots, you must first plan the passage of the cables under the terrace.
If your composite terrace is resting on ploughs, slip the sheaths between the blades.
Think about:
-
Provide a logical and accessible path for maintenance
-
Leave game at each spot to facilitate connections
-
Never use a bare cable without a protective sheath
3. Drilling the locations
Position your spots according to your plan. L-ideal? A regular spacing of 1.5 to 2 meters for a homogeneous rendering.
With a bell saw, drill the blades at the intended location. Clean the contours well so that the recess is clear.
Small tip: first test with a single hole before drilling the entire terrace. A small angle adjustment quickly arrived.
4. Reconnecting spots
Connect your spots to the circuit with respect to polarity.
Use watertight terminals or connectors for outdoor environments.
For 230V spots:
-
Connect the earth wires, phase and neutral in a waterproof box.
-
Close the bypass box carefully and attach it to the shelter of standing moisture.
-
Connect the circuit to your electrical board, on a dedicated differential circuit breaker.
5. Test lighting
Restore power supply, and turn on. If everything works perfectly, bravo: you have just installed a sustainable, aesthetic and standard lighting system.
If a spot does not turn on: check connections, polarity, and if you are in 12V, the maximum power supported by the transformer.
Practical advice
-
Ventilation: even if your spots are waterproof, provide a light ventilation under the terrace to avoid condensation
-
Drainage: Avoid bowls where water can stagnate. If necessary, drill drain holes near the spots
-
Maintenance: a small annual cleaning of the lenses guarantees you an optimal luminous rendering
-
Avoid the 230V / 12V mix in the same circuit: this complicates installation and can pose a problem in the protections
Your composite terrace deserves a light to its height
Installing recessable spots is not just a deco operation. It is a real technical approach that, well conducted, turns your terrace into a full-fledged living space, even at night.
With the right products, the right tools and a minimum of rigour, the result is spectacular. And if you have any doubt, it is better to call on a professional than to try a blind installation... especially with 230V!
 DELIVERY €11, FREE FROM €150 OF PURCHASES IN FRANCE