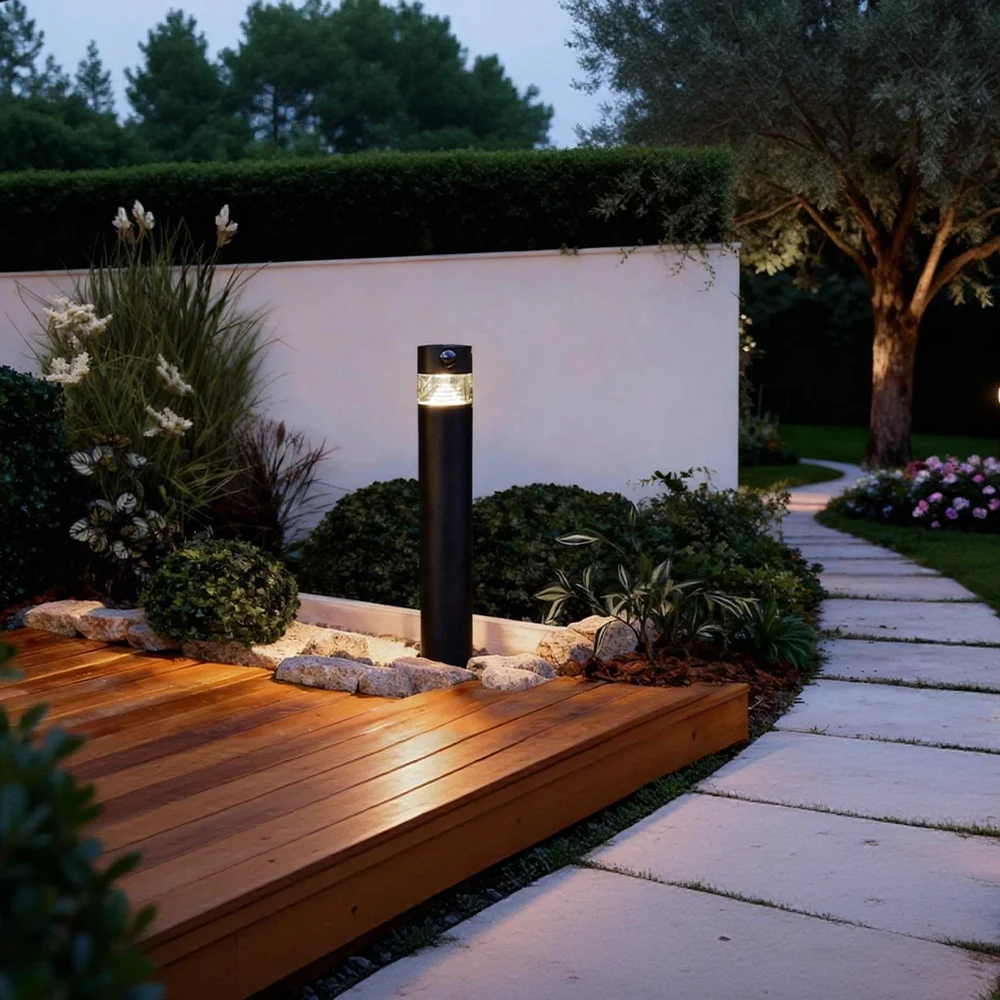
Once night falls, wall-mounted appliques on a facade will really change your home. More security, a more beautiful facade, and a must-see atmosphere on summer nights.
But, perhaps, when you put your exterior lighting yourself, you feel a certain vertigo... That words like cables, piercing, electricity give you hands - I'm getting sweaty.
But if I told you you don't need an electrician to install a outdoor wall lamp ? That you can be medium in DIY and achieve it with just a little method, the right products (Lumihome of course) and a hint of confidence in you.
- Can I show you?
Choose the right technology: solar or wired?
The first essential step: choose the right model to apply outside. So, wired or solar? To do this, nothing complicated:
- If you replace existing 230V appliqués, you can retain the same technology. (see line-based application range).
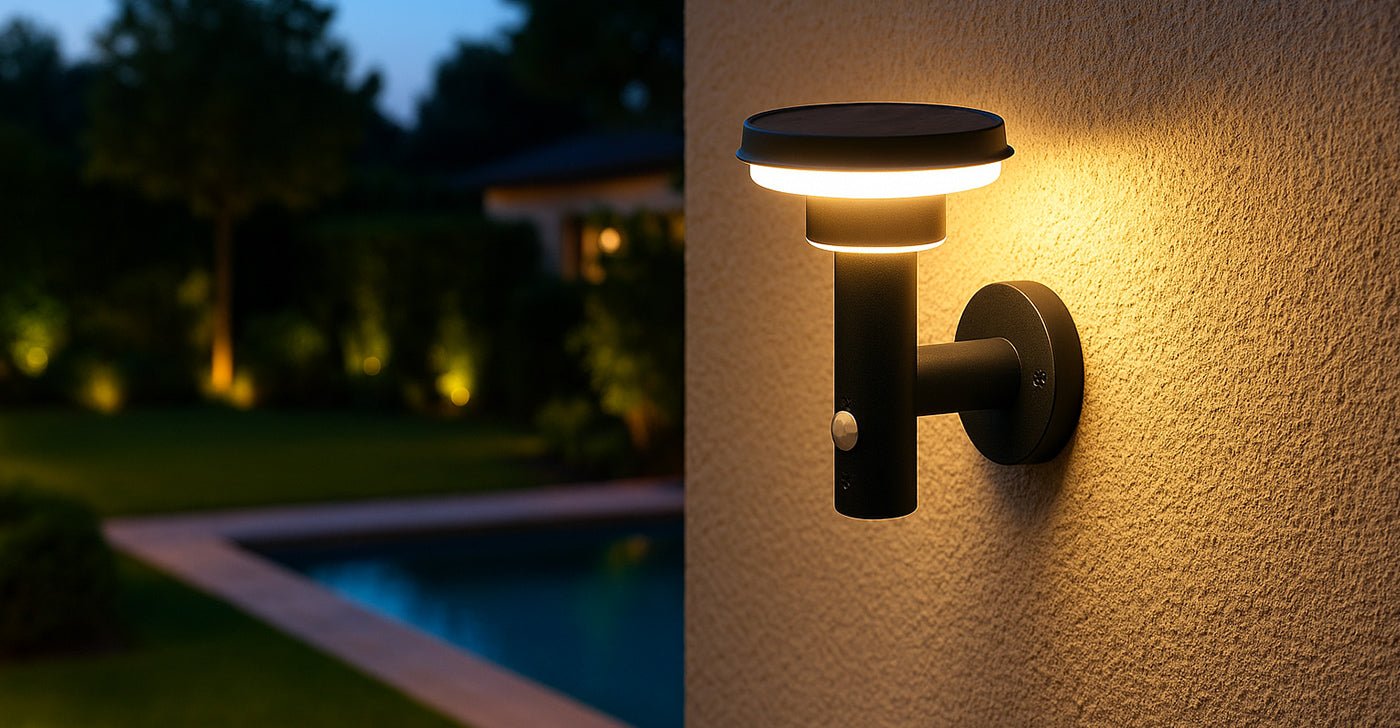
- If you don't have an electric arrival at the place where you want to install your appliqués, then I advise you not to complicate your life (you may already have a teenager at home for that...), choose a model dasolar wall wall wall. 100% autonomous, as powerful as a wired model (1000 lumens at Lumihome), automatic ignition, etc...
L-seam: essential for the life of your appliqués
Whatever the model you will buy, a life-saving reflex is to make sure that your new wall lamp meets the recommended seal standards. Sometimes some early price models leave something to be desired at this level.
Check the IP index of your luminaire depending on where you want to install.
|
IP
|
Protection
|
Recommended use
|
|
IP44
|
Water projections
|
Sheltered areas (pigs)
|
|
IP65
|
Water jets
|
Facades exposed
|
What are the tools and materials to get started?
It is time to bring you some essential tools. However, nothing extravagant; judge it instead:
- a ladder (stable please).
- a screwdriver
- a drill + drills
- a bubble level
- a fatty pencil
- a Mother
- of ankles and screws
- WAGO type quick connectors
Choose the right fixation according to the nature of your wall
You get to the most delicate point: make the wall applicator fasteners in the wall. It is important to choose the right ankles depending on the nature of your wall. Otherwise, you may damage your wall and not properly fix your luminaire.
Here is a summary table:
|
Type of wall
|
Recommended attachments
|
Advice
|
|
Brick
|
Expansion horses
|
Slowly pierce
|
|
Wood
|
Direct wood screws
|
Pre-drill to prevent bursting
|
|
Creed
|
Long hair with washers
|
Soft percussion to avoid cracking
|
|
Concrete
|
Metal/chemical hair
|
Use a perforator
|
|
Hollow wall
|
Molly/paraplity + platinum hair
|
Divide Load
|
How to install an external applicator step by step
A 230V wired applicator
- Cut the general current (it's non-negotiable!)
- Position the plate of the applique, trace the points.
- Drill, insert ankles, fix the plate.
- Use the quick connectors if necessary and then plug the wires: Blue = Neutral, Brown/Black = Phase, Green/Yellow = Earth.
- Fix it, turn the power back on, test.
A Solar Appliance
It's even easier because there is no connection to the power grid. Attach the plate as for the wired appliqué. Then follow the instructions for use to start charging the solar lamp before testing it.
Your app doesn't turn on, don't panic!
If despite all your efforts, your app does not turn on, no panic. Here is a list of common anomalies that you will be able to correct in two steps, three movements:
- It's basic, but did you get the circuit breaker back? If so, it's also possible that at the time of the re-start, it got safe. Check this point.
- Then check the voltage with a multimeter.
- If your applicator is solar, you must load it before you turn on. Follow the instructions for your model.
- Still for a solar model, it is not always thought about, but most models are equipped with a twilight detector. As long as it is daylight, the app will not light up.
Now what?
Putting your own app is often not very complicated. Of course, if you are allergic to DIY or if your installation is very special, call a professional. In the meantime, let us guide you through our article for choose your new outdoor led app and latest trends in garden appliqués.
 DELIVERY €11, FREE FROM €150 OF PURCHASES IN FRANCE