The whole appeal of solar bollards is they need no cable. No trench. No electrician. No permit. Here's the install in 10 minutes per fixture.
What you need
- A solar bollard with included ground spike
- A trowel or short shovel
- A spirit level (a phone app works fine)
Steps
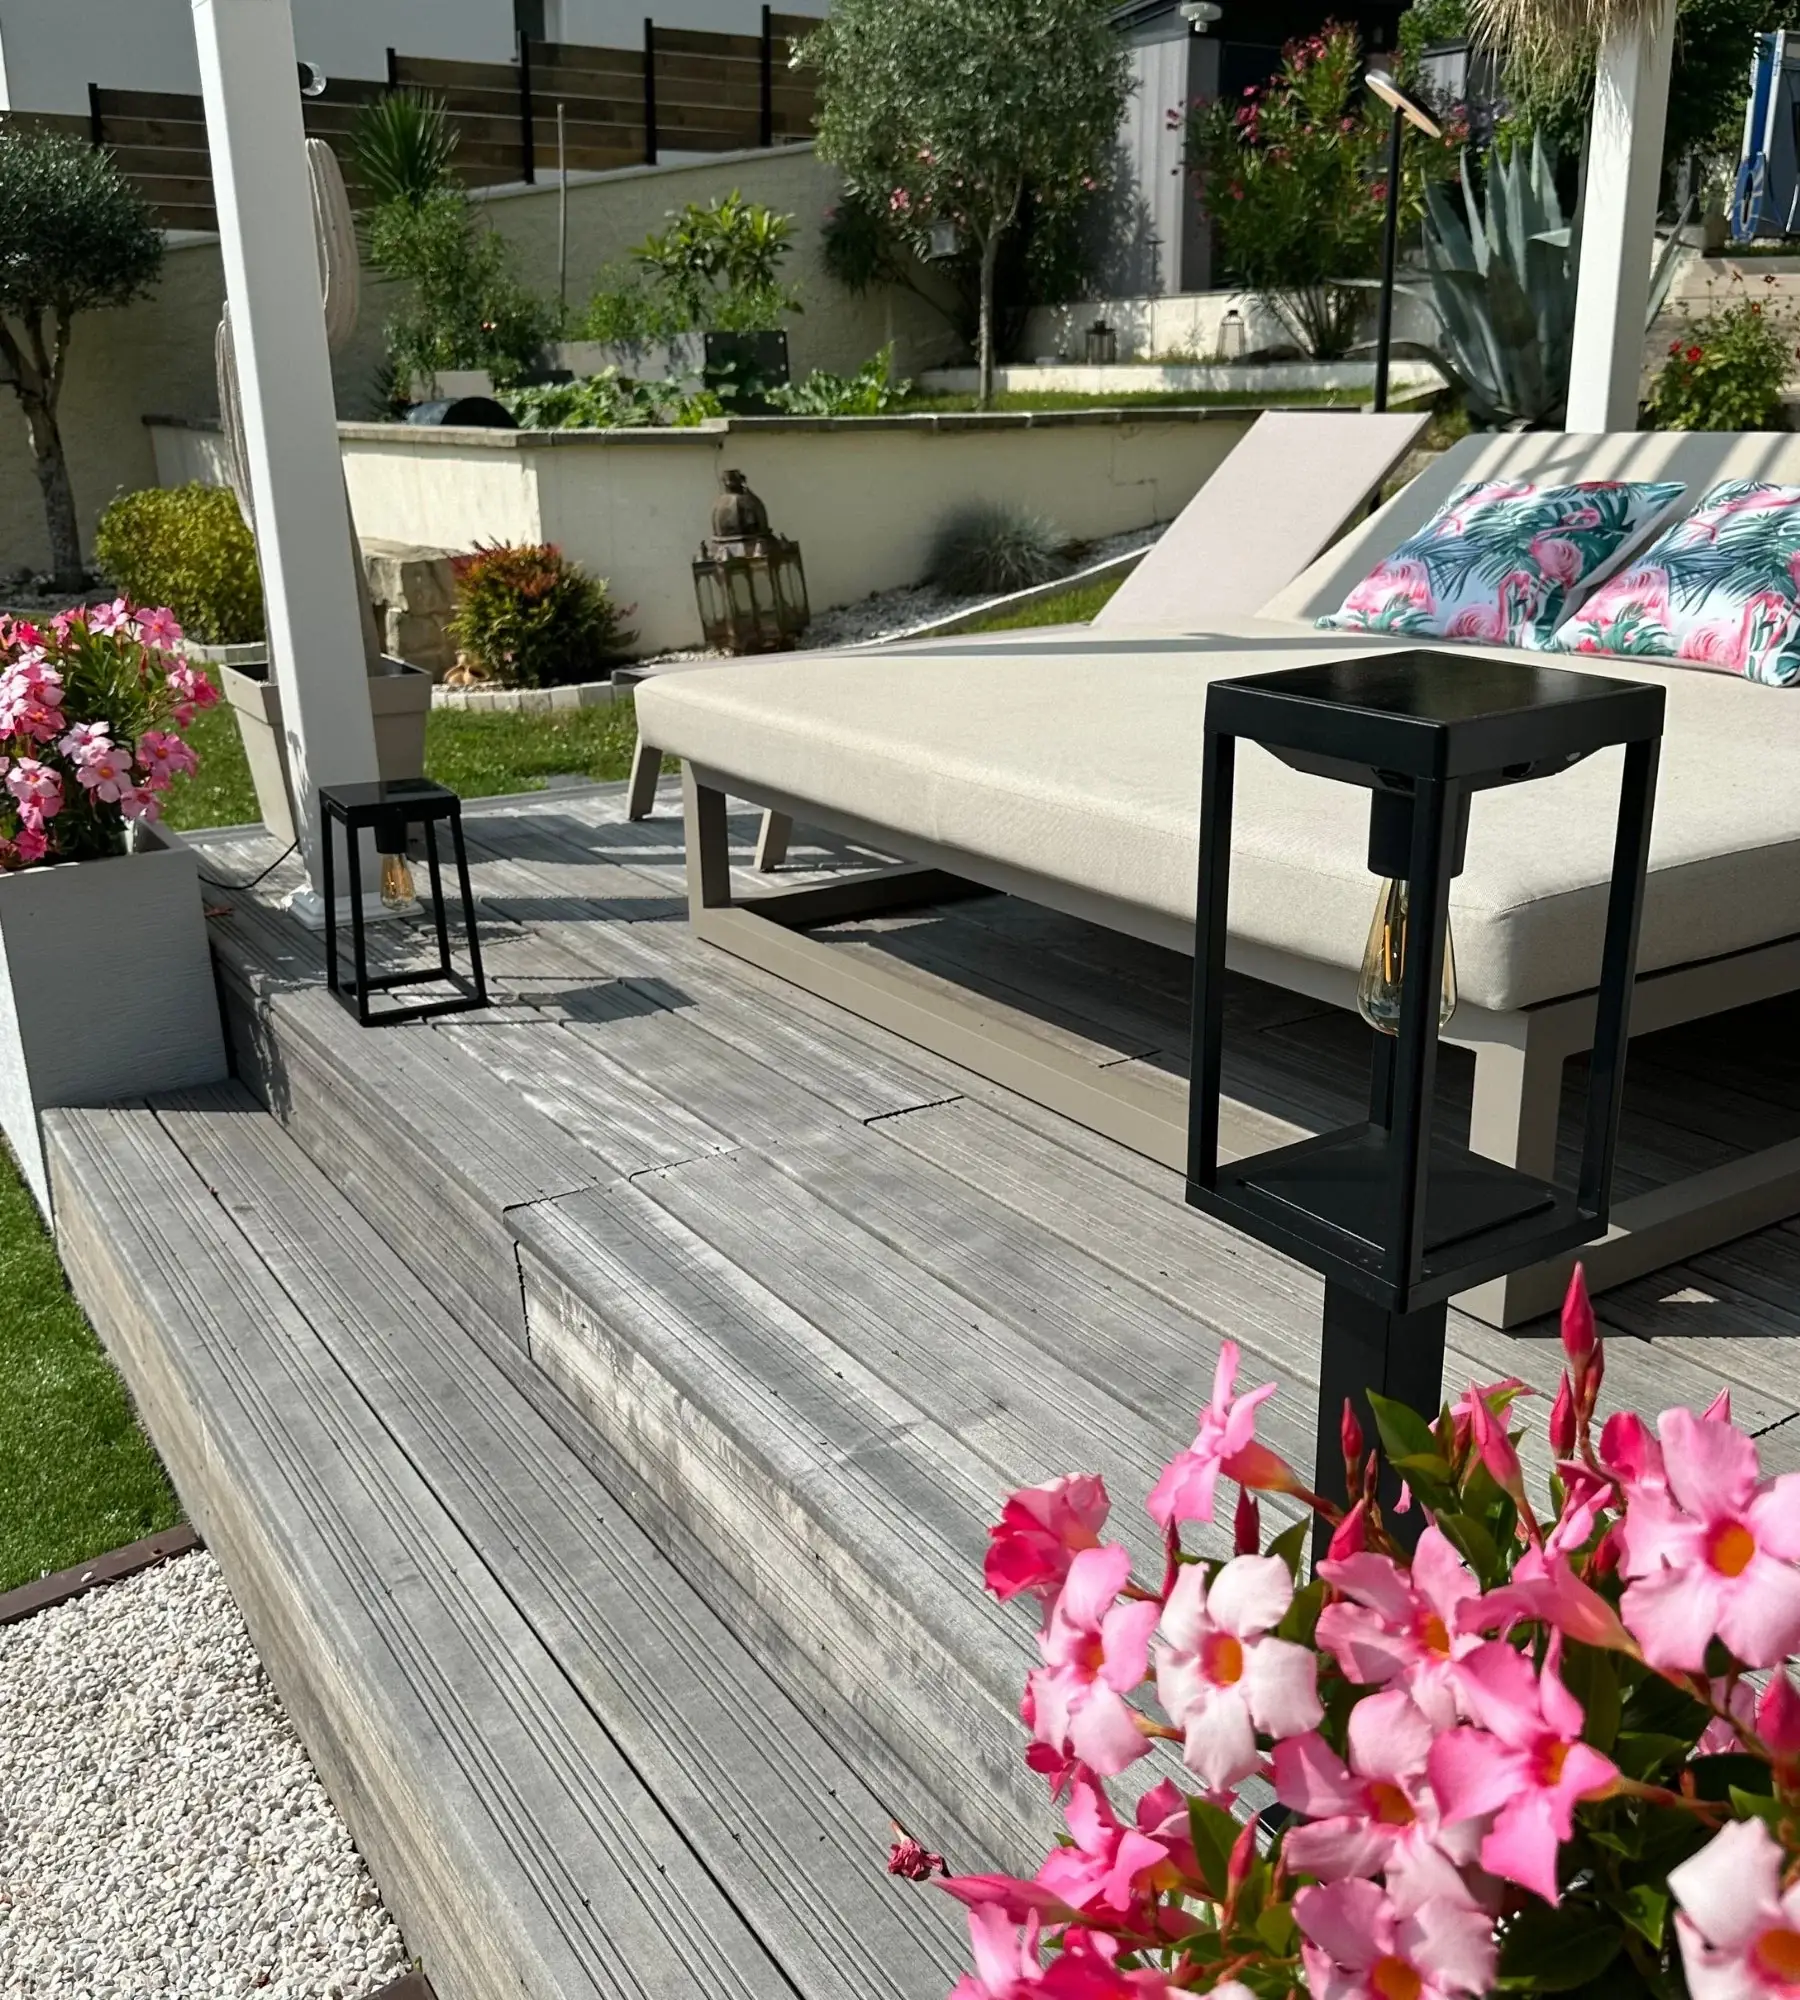
- Pick the spot. South-facing for the panel. At least 30 cm clear of plants that will shade it in summer.
- Dig 15–20 cm. Soft soil: push the spike in by hand. Compacted soil: dig a small pilot hole first.
- Plant the spike. Press straight down, check level, backfill.
- Activate. Most bollards ship with a tab under the battery cover — pull it. Or flip the switch from off to auto.
- Let it charge 48h. First charge takes longer than later cycles.
Common mistakes
Putting bollards under tree canopy ("it gets light"). Speckled light won't charge a panel. Aim for at least 6 hours of direct sun in summer, 4 hours in winter. If you live in a heavily-shaded space, consider 230V bollards on a low-voltage transformer instead.